5 Best Tips for Canning Seasonal Fruits at Home
Nearly 65% of home gardeners say that preserving their harvest is as fulfilling as growing it, and you're likely to agree as you embark on the rewarding journey of canning seasonal fruits. In your hands lies the potential to capture the essence of summer's bounty, but it requires more than just enthusiasm; it demands precision and care.
You'll need to select the best produce, use the right equipment, and follow tested methods to ensure your fruity preserves are not only delicious but safe to consume. As you prepare to seal the flavors of the season in jars, remember that the quality of your end product hinges on adhering to these best practices.
But what exactly are the nuances of choosing the perfect ripeness, and how do you avoid the common pitfalls that could turn your hard work into a shelf of spoiled preserves? Stay with me, and you'll find out how to make your pantry a treasure trove of summer's sweetness, ready to be savored long after the leaves have fallen.
Selecting Quality Fruit
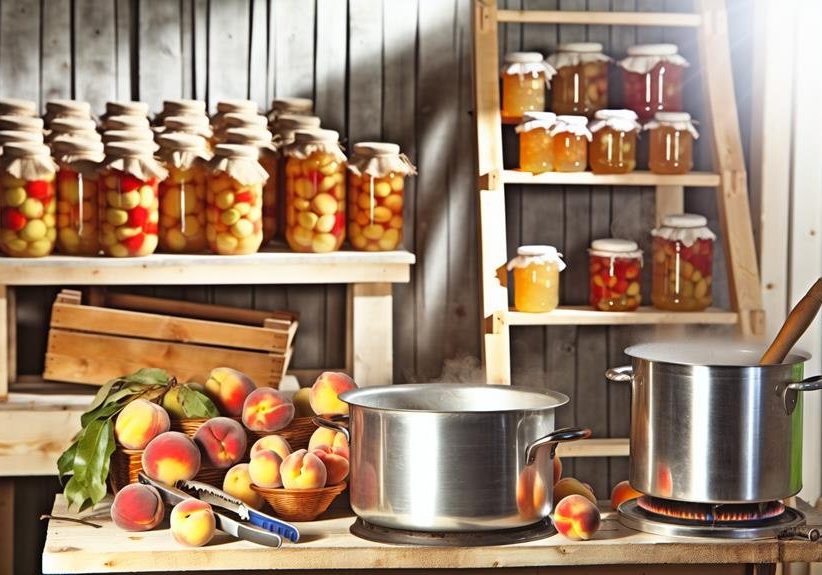
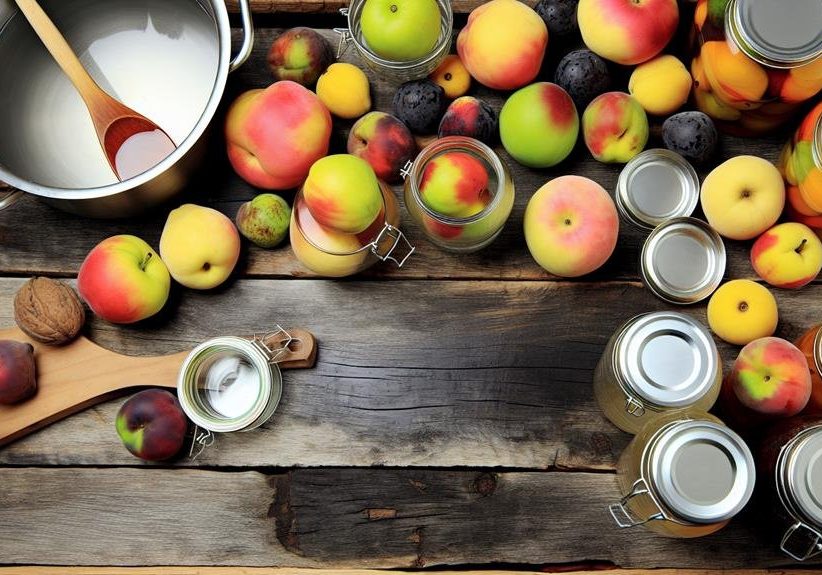
When canning seasonal fruits at home, it's crucial to start with ripe, unblemished specimens to ensure your preserves have the best flavor and texture. Selecting quality fruit is the foundation of successful home canning. To guarantee that your favorite fruits are safely preserved, opt for those at their peak of freshness. This not only saves you money but also captures the essence of the season in your jars.
You'll want to avoid overripe or damaged fruits, as they can compromise the quality of your canned goods. When you're out shopping, look for fruits with firmness, vibrant color, and a fragrant aroma – these are telltale signs of high-quality candidates for canning. Remember, fruits that are just ripe are ideal; underripe fruits may not achieve the desired softness during the water bath canning process.
Since most fruits are high-acid foods, water bath canning is the method you'll likely use. It's essential to ensure safe preservation, so always leave the recommended headspace and consider canning without sugar if you prefer. With meticulous attention to the quality of the fruit you select, you'll enjoy the rich, authentic taste of preserved foods long after the season has passed.
Preparing the Canning Equipment
Now that you've chosen the freshest fruits for your home canning, it's essential to prepare your equipment to ensure your preserves are safe and long-lasting.
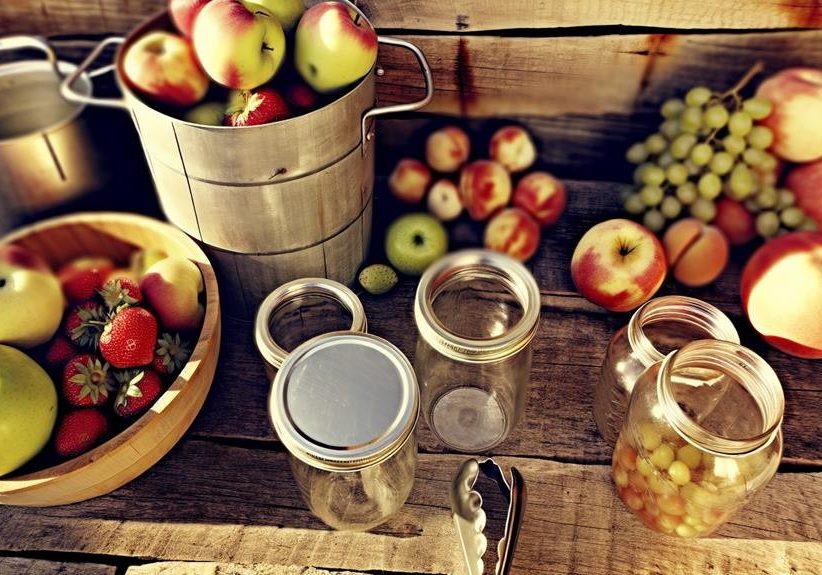
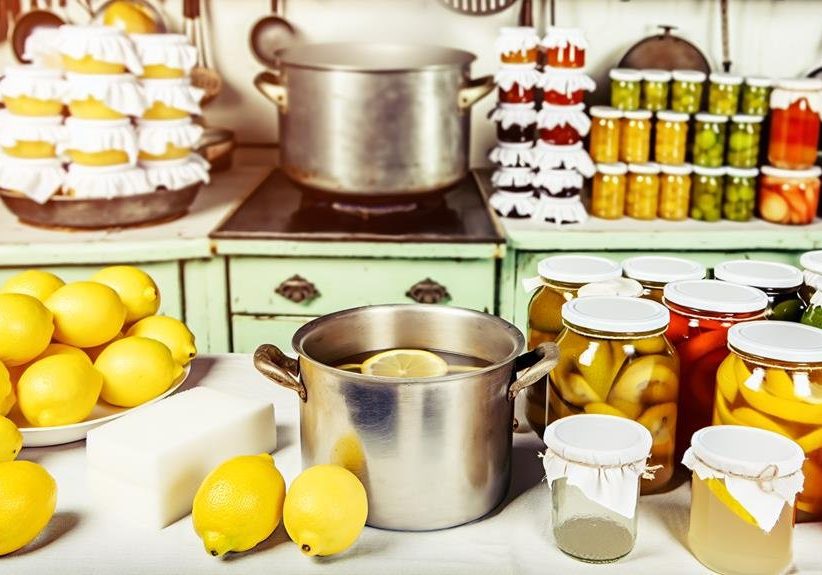
Begin by inspecting your jars with lids, ensuring there are no nicks or cracks that could compromise the seal. It's crucial that your water canner or pressure canner is functioning correctly and large enough to hold several jars at once. A pot of boiling water or a steady pressure canner is the backbone of the canning process.
Here are a few steps to take to heart:
- Inspect each jar and lid carefully for any imperfections to avoid spoilage and wasted effort.
- Sterilize your jars by simmering them in a pot of boiling water or running them through a hot dishwasher cycle.
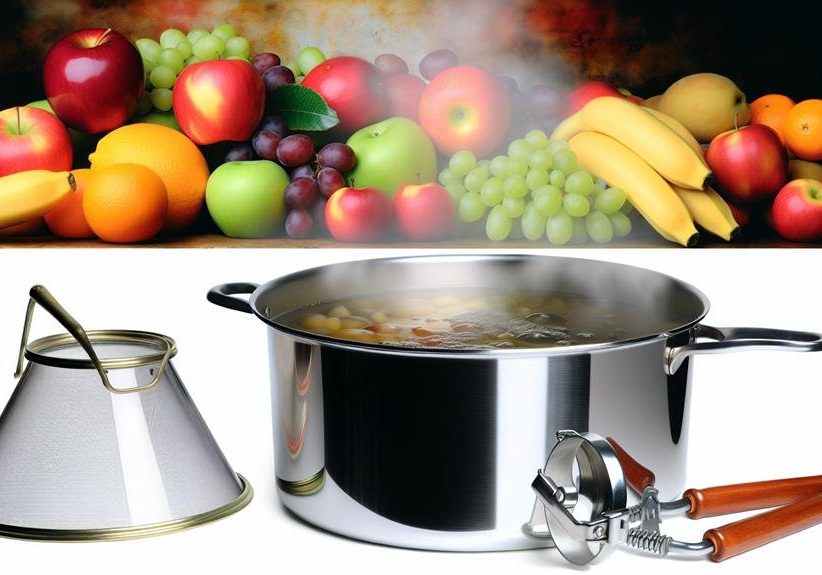
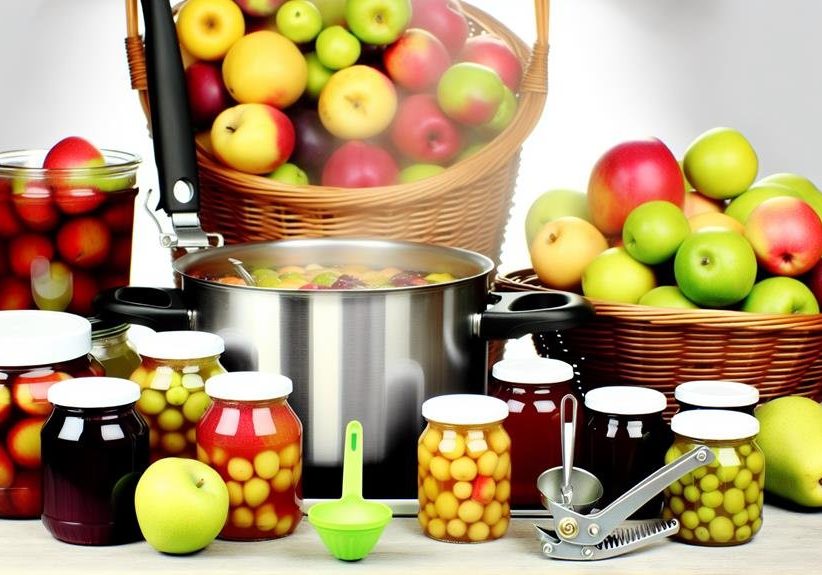
- Organize your canning tools: a canning rack, jar lifter or tongs, and a bubble remover to ensure you can fill the jars and remove any trapped air efficiently.
- Prepare your workspace by laying out all necessary utensils, including a ladle and funnel, and ensure you have a clean cloth ready to wipe the rim of each jar.
Remember to handle your equipment with care and confidence to create preserves that are as delightful to look at as they're to taste.
Understanding Canning Methods
Delving into the world of home canning, you'll find that selecting the right method—whether water bath canning for your tangy fruits and pickles or pressure canning for the likes of meats and non-acidic vegetables—is essential for both food safety and quality.
Water bath canning is ideal for high-acid foods, utilizing a water canner or a large pot. Here's how you do it: fill the pot with enough hot water to cover your jars by at least 1 inch. Bring the water to a gentle boil, and carefully lower the filled jars into the pot using a jar lifter.
For low-acid foods, pressure canning is non-negotiable. This canning method requires specialized equipment to reach higher temperatures than a water bath can provide. It's crucial to follow the manufacturer's instructions for your pressure canner to ensure safety.
Regardless of the method, start by sterilizing your jars and keeping them hot. Use a bubble remover to eliminate air pockets before sealing the jars with lids and bands. Adhere to the recommended processing times to achieve a safe shelf life.
The canning process isn't just about preserving your harvest—it's about doing it safely. Remember, cutting corners isn't an option when you're canning at home.
Processing Jars Correctly
To ensure your canned fruits are safely preserved, it's crucial to meticulously sterilize your jars and lids before filling them with your seasonal bounty. After preparing your canning recipe, it's time to focus on processing jars correctly. This step is vital, as it ensures the longevity and safety of your preserved fruits.
- Tightly secure the canner lid and maintain a rolling boil for the time indicated in your recipe.
- Keep jars submerged in at least 1 inch of water throughout the process to provide even heat distribution.
- Use a damp cloth to wipe the rim of the jar, ensuring a clean surface for the lid to seal properly.
- Listen for the satisfying pop of lids as they seal, indicating your labor of love has paid off.
When using a water canner, place your filled jars on the rack, ensuring they're covered by at least 1 inch of water. Begin timing only after the water has returned to a full boil. Follow the time indicated for your specific fruit to prevent the growth of harmful bacteria.
Once done, carefully remove the jars and let them cool on a towel. Remember, a proper seal is your badge of canning success; check it by pressing the center of the lid. If it doesn't flex, your treasure is sealed and ready for storage.
Storing Canned Fruits Safely
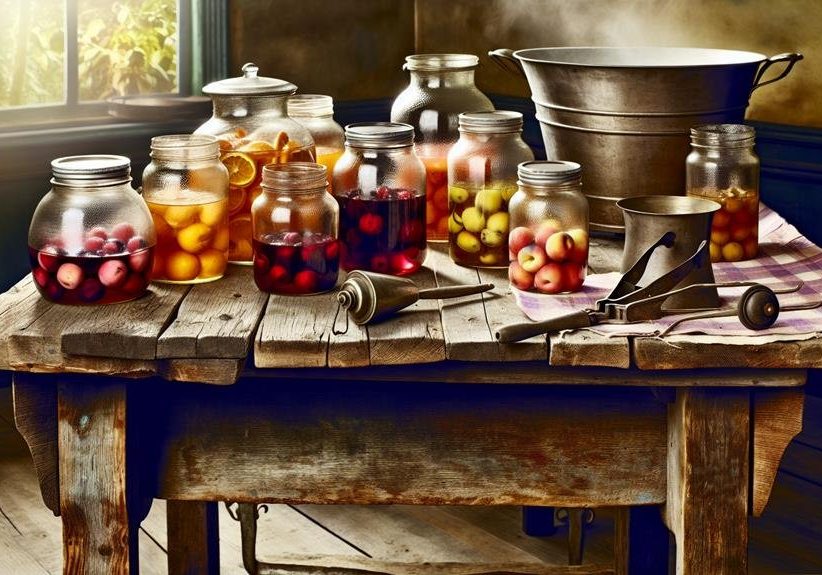
Once you've mastered the art of canning, proper storage becomes the key to preserving the freshness and safety of your seasonal fruit preserves.
Ensure your canned foods are properly sealed before they're stowed away. A correctly sealed jar won't flex when you press its center. If it does, make sure to refrigerate it within 24 hours to prevent spoilage.
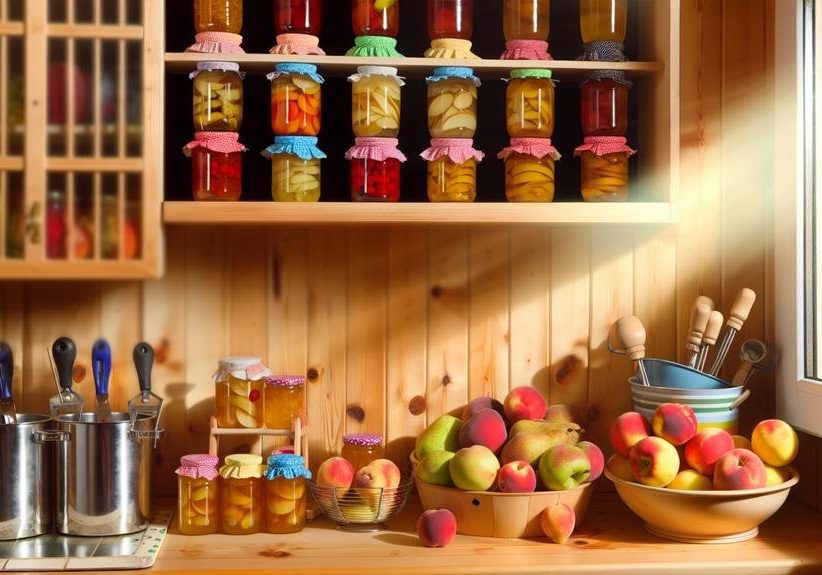
For long-term storage, find a cool, dark place, such as a pantry or a cellar, to preserve foods. This environment prevents light and heat from degrading your preserves. Make sure the area is dry to ward off mold and rust on the lids.
When placing the jars on shelves, be sure to use a barrier like a cloth or paper towel to absorb any dampness. Follow the instructions on creating enough space between the jars—ideally, at least 1 inch apart—to ensure air circulation and prevent them from knocking together.
Lastly, always label and date your jars. This not only helps you keep track of your batches but also assists in rotating your stock, using the oldest ones first. Remember, acidic fruits typically have a shorter shelf life, so prioritize these for earlier consumption.
Frequently Asked Questions
What Fruits Are Seasonal for Canning?
You'll want to select varieties like apricots and Jona-Gold apples for canning, considering climate and regional specialties. Ensure they're at peak ripeness, perhaps making bulk purchases for long-term storage using proper preservation methods.
How Do You Prepare for Canning Season?
To prepare, gather canning equipment, understand sterilization processes, and select fresh produce. Choose appropriate jar sizes, consult canning recipes, prepare sugar syrups, check acid levels, and use pectin wisely. Ensure proper storage conditions and label jars accurately.
What Is the Easiest Fruit to Can?
You'll find apples and berries easiest to can, requiring simple water baths and sugar syrups. No peeling needed; just sterilize jars, ensure proper acid levels, and test seals for safe, long-term storage.
How Do You Keep Fruit From Floating When Canning?
To prevent fruit from floating, use a high-density syrup and pack fruit tightly. Choose the right jar size, blanch if necessary, and remove bubbles. Adjust headspace and select appropriate pack method—raw or hot.
Conclusion
Now you're set to capture the essence of summer in jars!
Always pick the ripest fruit, meticulously prep your equipment, and understand your canning methods.
Process your jars with precision and store them in a cool, dark spot.
Follow these steps, and you'll savor the peak flavors year-round, ensuring your home-canned fruits are both delicious and safe.
Happy canning!

