Seasonal Fruit Canning: A Step-by-Step Guide
As a time capsule preserves history’s treasures, so does the art of canning capture the essence of each season’s bounty.
You’re about to embark on a journey that will allow you to savor the flavors of summer peaches or autumn apples year-round. With your kitchen as the launching pad, you’ll learn the meticulous process of selecting the right fruits, preparing your equipment, and the secrets to creating that perfect seal.
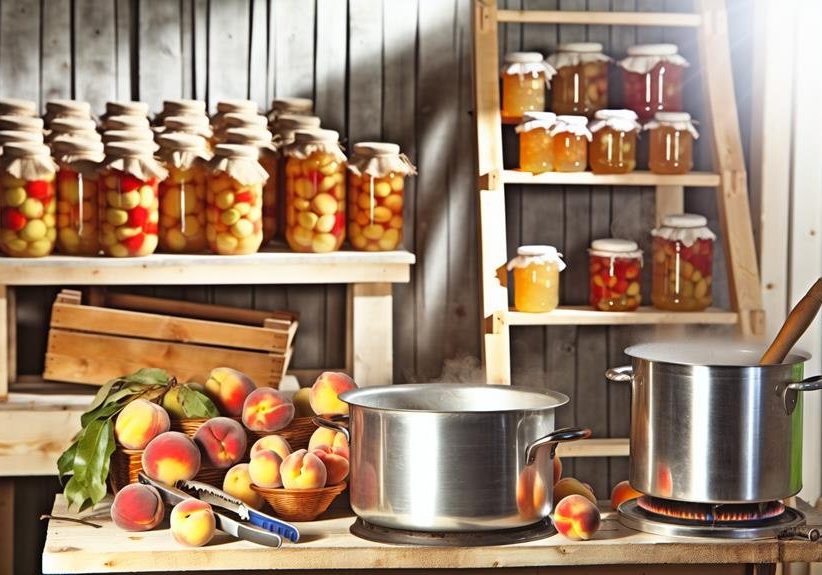
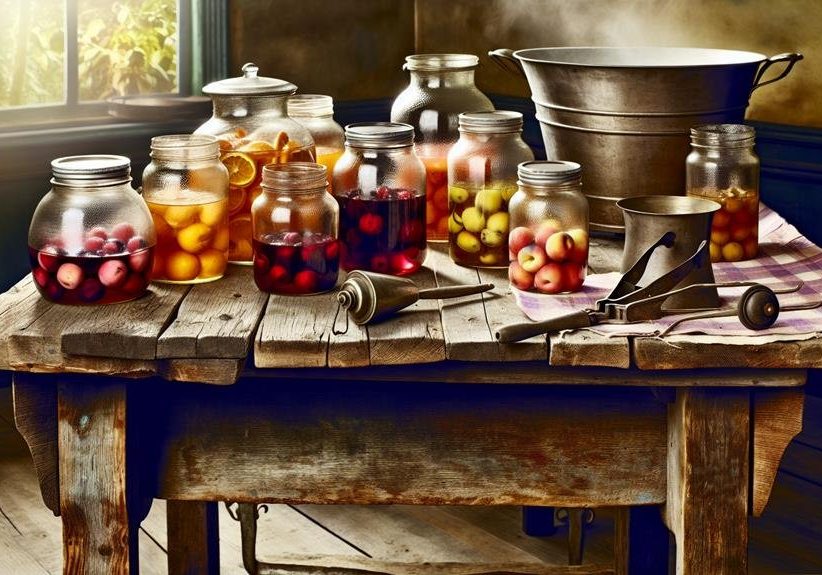
Imagine lining your shelves with jars filled with vibrant preserves, each a testament to your skill and the season’s generosity. But before you adorn your pantry with these homemade jewels, you must understand the critical steps to ensure your canned treasures are not only delicious but safe.
Stay with me as we navigate the intricate dance of temperatures, timings, and techniques that will elevate your canning from a mere hobby to a culinary craft.
Selecting Suitable Fruits
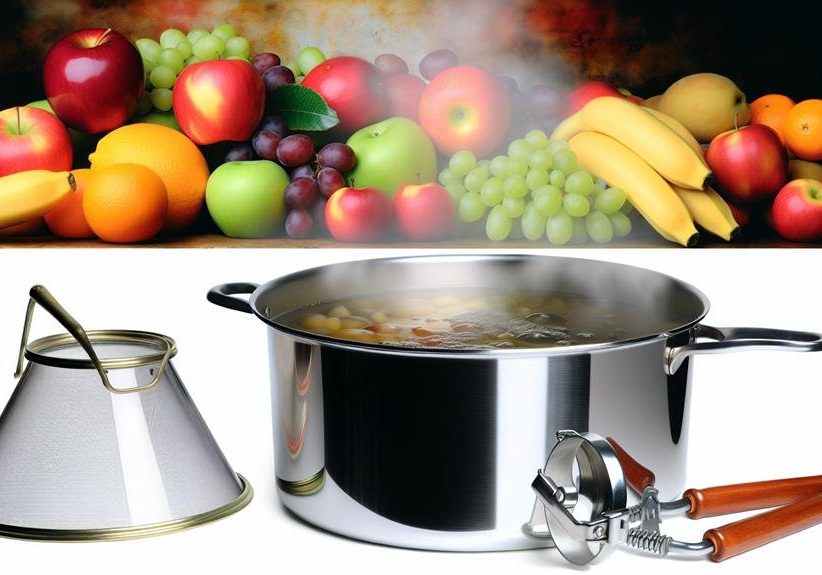
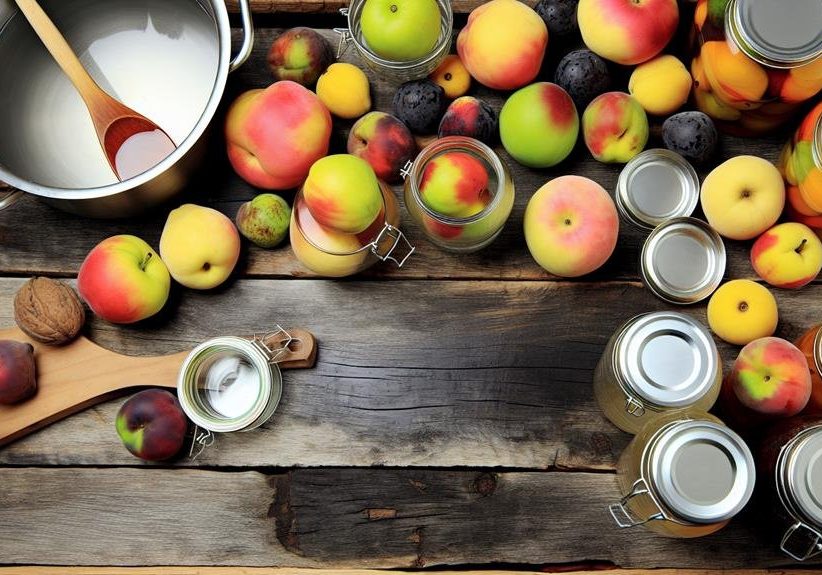
When selecting fruits for canning, ensure you pick those that are fully ripe and free of blemishes or bruises to guarantee the finest quality in your preserves. Seasonal fruit canning: a step-by-step guide starts with choosing the right produce at its peak. Your favorite fruits—peaches, pears, plums, apricots, grapes, nectarines, and pineapple—each have unique preparation methods before they’re ready to be canned.
For instance, apricots need to be halved and pitted, while grapes may require stemming. It’s crucial to prepare fruits according to recipe specifics to ensure they’re suitable for preserving high-acid foods. When it comes to packing your prepared fruits, follow the recommended ratios closely: generally, you’ll need about 1 1/4 lbs per pint jar and 2 1/2 lbs per quart jar. However, this can vary with fruits like plums and pineapple, so it’s essential to adjust accordingly.
Opt for the hot pack method to enhance the quality of your canned fruits. This approach reduces fruit float and helps maintain texture and flavor. Most importantly, adhere to safety guidelines for home canning to avoid foodborne illnesses and ensure your canning fruits venture is a success.
Preparing Canning Equipment
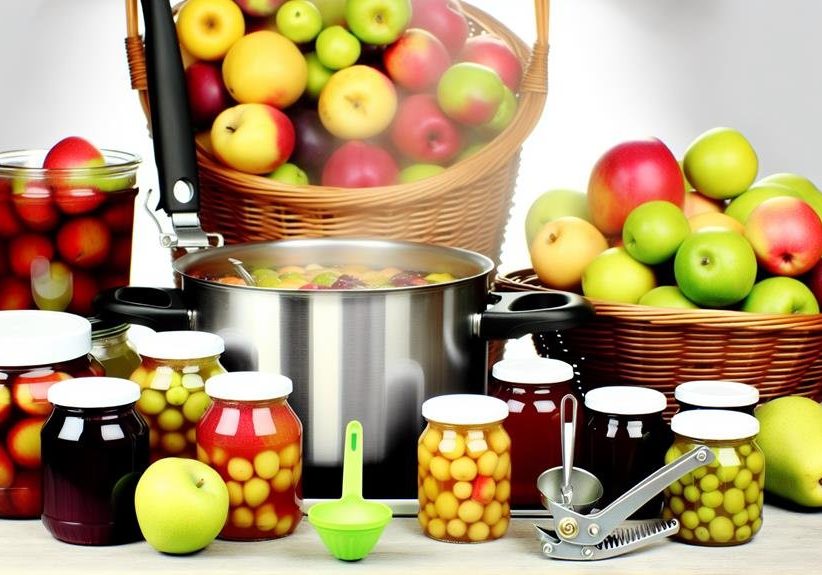
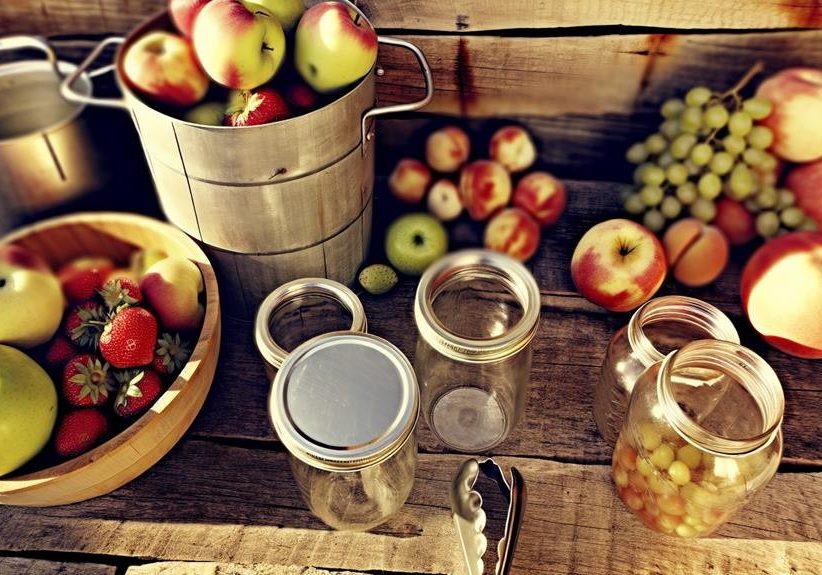
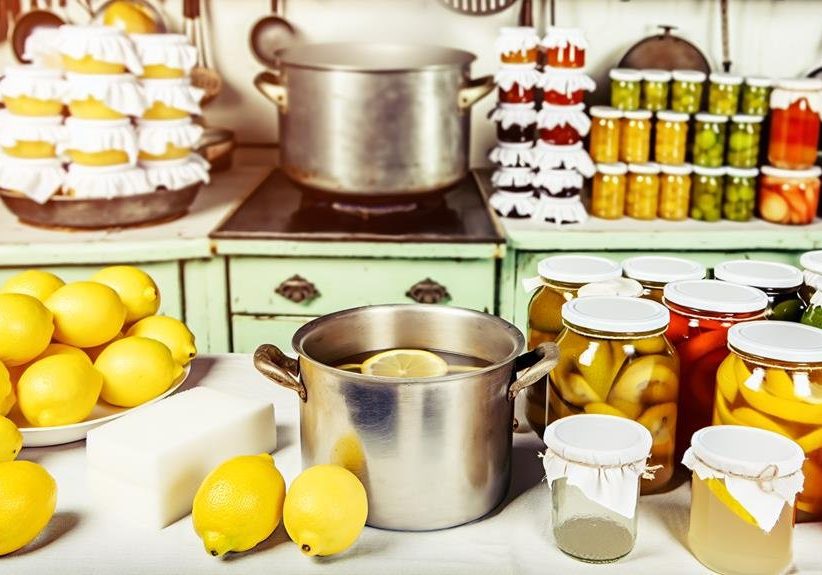
Before you begin the canning process, ensure your equipment is properly prepared by placing the lids in hot water and setting your canning jars and lids in a boiling-water canner to simmer for at least 10 minutes. It’s crucial to sterilize the jars to eliminate any bacteria that might spoil your preserves.
Once your jars have been simmering, use a jar lifter to remove them, placing them on a clean kitchen towel. This avoids any contamination and keeps the jars hot until you’re ready to fill them with fruit.
For water bath canning, fill your canner half-full with fresh water and bring it to a boil. The boiling water bath should be deep enough to cover the jars by at least one inch.
Now, boil the lids in a small saucepan to soften the sealant. Having extra hot water on hand is wise to top off the boiling water bath once jars are added.
Before filling the jars, wipe the rim of each jar with a damp paper towel to ensure a clean sealing surface. Then, use a canning funnel to fill the jars, preventing spills and keeping the rim clean.
This meticulous preparation of your canning equipment is the foundation of successful home canning.
Cooking and Flavoring
Having prepared your canning equipment, let’s focus on the art of cooking and flavoring your fruits to ensure your preserves are both safe and delicious. Start by using a mixture of cool water and lemon juice to keep light-colored fruits from browning before you cook them. This simple step maintains the visual appeal of your canning creations.
When preparing jams or jellies, perform the wrinkle test to check the set. After cooking, drop a spoonful of your mixture onto a chilled plate; if it wrinkles when pushed, your recipe is ready to jar. This ensures that your preserves have the perfect texture.
Before sealing, it’s crucial to wipe the jar rims to remove any food residue that could prevent a tight seal. Place a flat lid on each jar and screw on a band until it’s fingertip tight, ensuring that the flavoring stays inside and contaminants stay out.
Next, use a jar lifter to carefully remove the jars from the canner, placing them on a clean kitchen towel, spaced apart to cool. They should sit undisturbed for 12 to 24 hours. If a jar doesn’t seal properly, don’t worry — just refrigerate it and enjoy your flavorful creation within two weeks.
Filling and Sealing Jars
Carefully funnel your prepared fruit into hot jars, leaving the appropriate headspace to ensure a successful seal. This space is crucial as it allows for the expansion of the fruit and syrup during processing and aids in creating a vacuum seal. Once the jar is filled, it’s time to release any trapped air bubbles. Gently run a nonmetallic tool along the inside of the jar to free them. This step is essential for proper packing and to prevent potential spoilage.
Next, you’ll want to wipe the rim of the jar with a clean, damp towel. This removes any residue that could interfere with the seal. Place the lids and bands on the jars, tightening the band until it’s just fingertip-tight. Don’t overtighten, as air needs to escape during the sealing process.
Now, place the jars in a canner filled with hot water to cover them by at least one inch. This hot environment is necessary for the lids to seal properly. After processing for the recommended time, remove the jars and let them cool for 12 to 24 hours.
Processing and Storing Jars
Once your jars are filled and sealed, use a jar lifter to gently lower them into the canner, ensuring they’re submerged by at least one inch of hot water to begin the processing stage. The hot water bath is crucial for the safety and longevity of your canned fruit.
Start the boiling process and maintain a steady simmer for the time specified by your recipe, adjusting for altitude if necessary.
- Processing Steps:
- Submerge Jars: Place jars in boiling water, ensuring they’re covered by at least one inch.
- Boil: Process jars for the recommended time.
- Remove Jars: Use the jar lifter to carefully remove jars and place them on a cooling rack.
After processing, allow the jars to cool for 12 to 24 hours. You’ll need to check the seal by pressing down on the lids. If the lid springs back, it’s not sealed properly and the contents should be refrigerated and used within two weeks. If the lid is firm, label your jars with the contents and the date.
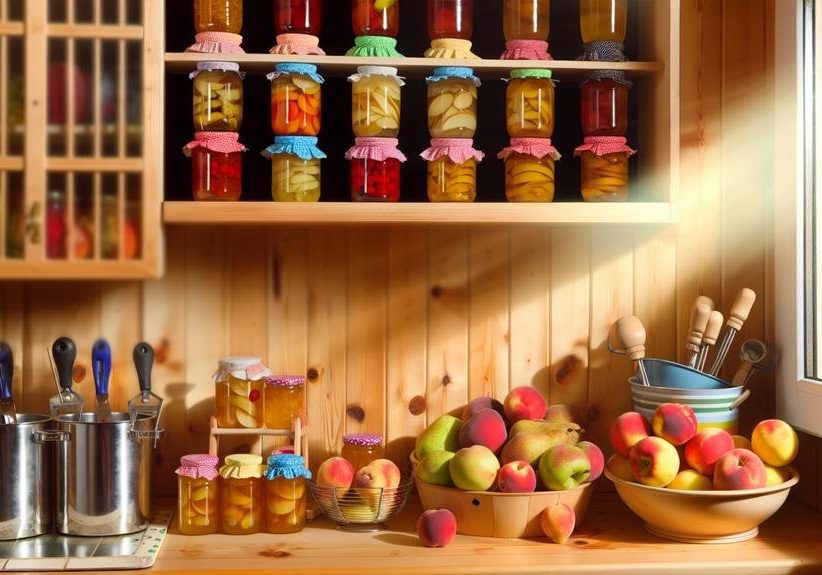
Store your processed and stored jars in a cool, dark place and enjoy your canned fruit for up to a year. Remember to release any trapped air before sealing to ensure the quality of your preserves.
Frequently Asked Questions
What Are the Steps in Canning Fruit?
First, you’ll select ripe fruit, sterilize jars, and prepare syrup. Next, pack fruit using proper technique, remove air, and secure lids. Then, process in a water bath, adhere to correct timing, cool, and check storage.
What Are the 5 Stages of the Canning Process?
You’ll navigate five stages: preparing equipment, filling jars, sealing them, processing with water bath or pressure canning, and finally cooling. Remember to adjust for altitude, use proper canning safety, and maintain your equipment.
What Fruits Are Seasonal for Canning?
You’ll find peaches, pears, and plums perfect for canning, especially when you test for ripeness. Explore regional varieties on market trips, considering organic options for preservation benefits using the right canning equipment.
What Are the 6 Steps Required in the Canning Process?
You’ll need to prepare essentials, select jars, sterilize lids, manage a water bath, master filling technique, remove air bubbles, measure headspace, check seals, follow storage tips, and understand labeling importance for successful canning.
Conclusion
You’ve mastered the art of seasonal fruit canning! By carefully selecting ripe, high-quality fruits and diligently preparing your equipment, you’ve ensured delicious results.
Your cooking and flavoring skills have transformed simple fruits into preserves that burst with taste. With your jars expertly filled and sealed, the water bath processing has locked in freshness.
Now, confidently store your bounty, knowing you’ve followed the safest methods. Enjoy the fruits of your labor, preserved to perfection!

